Like most kids, my boys love pizza and like most mums I’m always on the lookout for healthy alternatives to their sometimes not so healthy favourites. I can’t remember where this recipe came from but I’ve been making it for a while and it always works a treat. You can, of course, change the topping to suit. If you can’t bear the idea of losing the authentic Italian base, then the next time you order a pizza delivery, instead of a meat feast, opt for a healthier alternative by creating your own vegetable topping. This recipe may seem like it contains a lot of ingredients, but, actually, it’s quite simple.
Preparation time:
15 minutes
Cooking time:
45 minutes
Serves:
4
Ingredients
1 large cauliflower
2 eggs
100g almonds
1 tbsp. dried oregano
1 tin of chopped tomatoes
1 aubergine
1 onion
1 garlic clove or more if your kids like it
1 tbsp. tomato puree
2 tbsp. light olive oil
A few basil leaves
125g mozzarella
Parmesan to taste
Method
Preheat your oven to 200 degrees or gas mark 6.
Trim the cauliflower and cut it into chunks and then feed it bit by bit into your food processor. Blitz it until the cauliflower has a cous cous consistency.
N.B – Don’t do what I do and try to cram too much in the food processer at once, because you’ll just end up with a jammed machine.
Now you need to soften the cauliflower up. The easiest way is to pop it in a microwave for five minutes, but I do have friends, who have ideological reasons about owning a microwave, so you can, alternatively, boil the cauliflower in a pan. Don’t boil for too long, otherwise you may be left with a soggy mess.
When you’ve softened up the cauliflower, tip it onto a clean tea towel and squeeze out as much water as you can.
Pop the cauliflower back in the bowl and stir in the beaten egg, the almonds, the oregano and salt and pepper to taste.
Spread the mixture onto a lined baking tray, making it thicker at the edges so you’ll get a nice crusty rim.
Bake for about fifteen minutes or until it’s a nice golden brown.
While the base is in the oven you need to slice up the aubergine and the onion and fry them both until they’re soft and slightly charred.
Blend the tomatoes, the tomato puree and the garlic in your food processor until you get a nice smooth paste.
Then transfer the paste to a saucepan and simmer for about ten minutes, until it’s good and thick, and then add the basil leaves.
When the base is cooked, take it out and let it cool, while you whack the oven up to 240. Spread the tomato paste over the base, add the aubergine, onions and sliced mozzarella and grate the parmesan over the lot.
Place back in the oven for about ten minutes and you’re done!
Autumn is the time when we start warming up our ovens to prepare for the busiest period of baking/cooking over Christmas. I usually opt for the simplest baking recipes, especially when I host the Christmas holiday feasts, as the guests I need to prepare for normally run into the double digits. This year is no different, with at least 13 guests gracing their presence at ours this Christmas. Easy recipes ensure that I can plan, prepare and cook everything according to a well-thought out schedule, with the added bonus of allowing me to spend more time with my kids, instead of staying in the kitchen all day long.
This year, pancake recipes are on the Christmas menu. Pancakes are not only one of the simplest sweet treats on the planet, but they are also very flexible: they allow you to experiment with as many different ingredients that you can think of and they can easily be turned into a decadent cake too. Not only that, the pancake batter can be used to make other sweet treats like muffins and other (Christmas) wonders. For inspiration check out the best American pancake recipe collection on MyGreatRecipes. Here are some classic pancake recipes that have a Christmas twist, so they can easily be worked into your Christmas schedule this year:
Classic Christmas Pancakes
Prepare your favourite standard pancake recipe (I like BBC Good Food’s Fluffy American Pancakes) and then cut and shape in the form of a snowman or reindeer. My favourite pancake “art” is the Santa Claus face made with whipped cream for the beard and hair, chocolate chips for the eyes, and halved strawberries for the nose and hat. Simple and effective.
Green Christmas Pancakes
Add green food colouring to the batter and cook the pancakes in different sizes, from smallest to largest (use spoons and different sizes of cups to achieve this). Then stack them on top of each other to form a Christmas tree, cover in sprinkles and add a star cut from an apple on top (stick it on a toothpick to position it easily).
Red Velvet Pancakes
Nothing says “Christmas” better than these red velvet pancakes, made by adding red food colouring to the batter, with cream cheese glaze and sprinkles on top. I love using my Christmas moulds with this batter because the final product is simply amazing. In this case, use a food-storage plastic bag to draw with the cream cheese over the pancakes. Sprinkle with powdered sugar and candy sprinkles.
Christmas Pancake Muffins and Parfaits
Place the pancake batter into muffin tins for baking. I love muffins because they allow me to get creative with amazing, yet simple decorations that complement the Christmas festive table beautifully.
For example, you can create Christmas ornaments by decorating the top of the muffins with icing, M&M’s and a rolo candy as toppings. Another option is to cover them with chocolate icing and decorate with reindeer “faces”, made with candy eyes and red M&M’s for the noses, and cut pretzels for the antlers.
Parfaits and trifles are the best and easiest way to “save” your pancake leftovers. In fact, they are so quick and simple you can hand them out to your guests before they leave.
Simply place them in jars, cover with lids and tie a bow! Mix red and white to capture the Christmas spirit, of course. Pour a layer of plain or vanilla-flavoured Greek yogurt, then drizzle with honey and a pinch of cinnamon. The second layer is made with cranberry sauce and the third with cubed pancakes and granola. Repeat with a second layer of yogurt, honey and granola. Decorate with fresh cranberries and mint leaves. Merry Christmas!
What’s your favourite Christmas pancake recipe? Share in the comments below!
*Collaborative featured post*
Canderel Sugarly Taste Test Challenge – Includes Lemon & Blueberry Cheesecake and Vanilla & Raspberry Cupcake recipes
Mindlab International recently conducted a study on the brain activity of a group of participants when they were faced with treats prepared with sweetener and with sugar. Results showed that in a number of tests, the participants actually found the treats prepared with sweetener more desirable and in all other measures of brain activity, the sweetener performed just as well as the sugar.
So, Canderel challenged Motherhood Diaries to make two batches of the Lemon & Blueberry Cheesecake and two batches of the Vanilla & Raspberry Cupcakes, where one batch contained sweetener and the other with sugar. The test was to find out whether my family could, (a) tell the difference and (b) prefer the taste of either sugar or sweetener. So, let the challenges begin!
It was a unanimous verdict. Canderel Sugarly won! Using Canderel Sugarly meant I used half of the quantity of sugar and the sweetness still shone through in both of the above recipes. Plus, they weren’t as sickly sweet as the sugar alternatives, which meant that Canderel Sugarly is just as good a contender in decadent desserts than using normal caster sugar.
Thoroughly enjoyed the Canderel Taste Test and I urge you to give it a try. Swap your sugar ingredients for Canderel Sugarly and remember to use only half the amount because it’s very sweet!
Disclaimer – Canderel supplied the recipe and ingredients to make each of the recipes, but opinions are 100% our own
Subscribe here to be updated with new posts. Don’t forget to tailor your preferences, so you just get the posts you want and need!
If you’d like to share your wealth of experience and knowledge with our community, then you canapply to become a Motherhood Diaries’ Contributor here. Don’t forget to read our Ad Policy.
Raspberry and Vanilla Cupcakes Recipe
These cupcakes by Canderel are so easy to make, you just pop all the ingredients into a mixer, place the mix into cupcake cases and then bake. They’re cute and low on calories too!
Motherhood Diaries was challenged to create two batches of these delicious cupcakes, one with Canderel Sugarly Sweetener and one with caster sugar to see whether my family would taste the difference. They unanimously voted for the cupcakes that used Canderel Sugarly because they weren’t as sweet, but they still retained a lot of the zing and lightness.
Remember to use half the quantity of Canderel Sugarly sweetener to normal sugar, so for 125g/40z sugar you use 62g/2oz of sweetener.
https://youtu.be/1f8OiKvY1xw
Makes 12 | Prep 15 mins | Cook 25 mins
Ingredients
175g/6oz low fat spread
3 eggs
75g/3oz Canderel Sugarly plus extra for dusting
100g/3 ½ oz. self-raising flour, sieved
1 tsp baking powder, sieved
1 tsp vanilla extract
250g punnet raspberries
You will need a 12-hole patty tin, lined with paper cases
Method
Add the low fat spread, eggs, Canderel Sugarly, flour, baking powder and vanilla extract to the bowl of the food mixer and beat until creamy and well combined.
Stir through the raspberries then divide the mixture into the paper cases using a teaspoon. Put in the oven and bake for 20-25 mins or until pale golden and risen and springy to the touch.
Remove from oven and transfer to a wire rack and leave to cool completely before serving.
Dust with a little Canderel Sugarly to serve.
Cook’s Tip
If you wish to decorate these, mix 150g half fat cream cheese with 2 tbsp. Canderel Sugarly, spread on cooled cakes and top with a fresh raspberry – you will however increase the calories!
Fancy some chocolate cupcakes? Reduce the flour to 75g and add 25g of dark cocoa!
Nutritional information
Nutrient
Per Serving
Energy (kcal)
107
Fat (g)
7
Sat Fat (g)
1.7
Sugar (g)
1
Lemon & Blueberry Cheesecake Recipe
A highly decadent no-bake cheesecake dessert recipe created by Canderel and a well-known family favourite, the Lemon & Blueberry Cheesecake can be made with either sweetener or sugar. Motherhood Diaries was challenged to create two batches of this lovable cheesecake, one with Canderel Sugarly Sweetener and one with caster sugar to see whether my family would taste the difference. They unanimously voted for the cheesecake that used Canderel Sugarly because it wasn’t as sweet but still retained a lot of the rich flavour.
Remember to use half the quantity of Canderel Sugarly sweetener to normal sugar, so for 125g/40z sugar, you use 62g/2oz of sweetener.
Lemon and Blueberry Cheesecake
https://youtu.be/V3uziJGiYrU
Serves 10 | Prep 20 mins
For the base
50g/2oz low fat spread
150g/5oz digestive lights, crushed
For the topping
3-4 sheets gelatine, depending on the size of the sheets
2 x 180g pots (360g) half fat cream cheese
100g/3 1/2 oz. Canderel Sugarly
250g pot vanilla quark
Zest and juice of 2 lemons
250g punnet blueberries, reserve some for topping
You will need a 20.5cm/8inch deep round, loose bottom springform tin, lightly greased and base lined with baking parchment
First, make the base, melt the low fat spread in a pan then add the crushed digestives and stir to mix, spoon into the tin, spread to cover and press down with the back of a wooden spoon or base of a glass. Leave to cool then put in the fridge to chill.
Add the gelatine to a small bowl and cover with water, put to one side for about 5 minutes to soften. To make the topping, add the cream cheese, Canderel Sugarly, quark and zest and juice of the lemons to a food mixer and beat until combined. Squeeze the water from the gelatine, put it back in a clean bowl and pour in just enough boiling water to cover then whisk with a fork until no lumps. Add it to the cream cheese mixture and beat until well mixed.
Stir in a third of the blueberries then spoon mixture over biscuit base and smooth the top. Put back in the fridge and chill overnight then release from tin, top with remaining blueberries and slice to serve.
Bernard Matthews Brunch Challenge – Turkey Ham Bruschetta recipe
I love challenges.
I, especially, love food challenges.
So, I was enthusiastic to take on another Bernard Matthews #bootifulmeals challenge, this time, centring on brunch and the growing trend of incorporating avocado, poached eggs and cooked meats into our in-between breakfast and lunch meals. Armed with Bernard Matthews Wafer Thin Turkey Ham and a deep penchant for creating great brunch/lunch recipes, I set about making something that the whole family could enjoy. And, indeed, they did – all six of them!
So, without further ado, I present to you the Turkey Ham Bruschetta recipe, showcased as the very first recipe in my new food blog, Five for a Fiver. And, thanks to Tomas Preston Photography, the images display the beautiful simplicity of how only a few ingredients can be combined to create a delicious, healthy and, actually, quite filling brunch meal.
I, normally, like to be quite creative with my bruschetta snacks, opting to include poached/fried/boiled egg at breakfast and tuna for a protein-busting lunch. This time, I included Bernard Matthews Wafer Thin Turkey Ham for a brunch alternative, which I have never done before and the result was a fresh, light and filling meal that served six people and only cost £4.38*
Apart from the fact that they taste great, the good thing about Bernard Matthews’ cooked meats, in this case, the Bernard Matthews Wafer Thin Turkey Ham, the fat content is low and it’s a very versatile ingredient that the kids can enjoy as well.
And, as Bernard Matthews’ turkey products are 100% British, we’re helping our economy too! They’re even great for busy mums like me because you don’t have to go through the process of browning and cooking the meat, which can shave off valuable minutes when trying to feed hungry children. We enjoyed the Turkey Ham Bruschetta during a barbecue at the weekend, but you can incorporate any one of these cooked meats into regular staple recipes, such as:
Bernard Matthews Wafer Thin Turkey ham in an oozing cheese omelette
Bernard Matthews Turkey Ham in cheese muffins
Bernard Matthews Wafer Thin Turkey ham in a poached egg bagel
To find out more about Bernard Matthews’ products, head on over to their website or check out their Facebook page, which Bernard Matthews regularly update with their latest products and life in the fast lane of Witchingham Hall.
*Prices are at 4 June 2016 (Tesco). The total cost of the recipe may vary after this date.
Disclaimer: Bernard Matthews commissioned Motherhood Diaries to create a recipe using one of their cooked meat products. The recipe creation is 100% my own.
5-ingredient sweet and zesty roast chicken recipe with all the trimmings in under 2 hours!
We Brits love our traditional Sunday roasts and our golden turkeys at Christmas time. But, I’ve always wanted to provide a full roast dinner for the boys during the week, to send their tummies into a blissful sleep before another busy day at school. So, armed with my new beautiful – and very English style – Doris & Co roasting items (more on those below) and a 1.8kg whole chicken, I set about creating a roast chicken dinner with all the trimmings and with just enough time to chat before the scheduled bedtime routine – all squeezed in just under 2 hours!
Sweet and Zesty Roast Chicken Dinner with all the trimmings
Inspired by the Zesty Roast Chicken recipe from Lewis of Radlett butchers
Here’s how:
Ingredients
1.8kg/4lb Whole Chicken – serves 4
2 large sweet potatoes
2 lemons
4 carrots
2 cloves of garlic
Optional extras
Stuffing – I used Kent’s Kitchen Ready-made Cranberry & Orange Stuffing, to complement the sweet and zesty chicken
Gravy – I used ready-made gravy, but you can make your own using the chicken’s giblets, 1 chopped red onion, 2 OXO beef/chicken cubes and a couple of tablespoons of the chicken’s cooked juices. It only takes a few minutes, so make it when the chicken is resting under the foil.
For seasoning
Sunflower oil
Sprig of rosemary
Salt and Pepper
50g Butter (room temperature)
1 clove garlic or garlic granules
Method
1/ Preheat your oven to 190C/170F/Gas Mark 5
2/ Heat up the oil in your roasting tin whilst you squeeze lemon all over the chicken.
3/ Pop the remains, along with some rosemary and a couple of garlic cloves inside the chicken.
4/ Place the chicken in the middle of the roasting tin, within the hot oil.
5/ Grate 1 clove garlic or use 1 teaspoon of garlic granules and add to the butter, along with a pinch of salt and pepper.
6/ Brush all over the chicken, with a pastry brush, including the legs.
7/ You will be roasting the chicken in the centre of the oven for a total of 1 ½ hours, basting with the butter and juices in the roasting tin every 20 minutes.
8/ Whilst roasting for the first 20 minutes, prepare your vegetables
9/ Add the carrots and onions with the chicken at 40 minutes (2nd baste) and cover with the juices.
10/ Add the sweet potatoes in at 1 hour (3rd baste) and cover with the juices. You can add more oil and season with salt and pepper at this point, if needed.
11/ Time to prepare the stuffing, Follow the packet instructions if you are using ready-made. For Kent’s Kitchen’s version, it was as simple as adding boiling hot water, leaving the granules to stand in the measuring jug for a bit and then forming them into balls.
12/ At 1 hour 20 minutes (4th baste), add the stuffing balls around the chicken and cook for a further 10 minutes. Check the chicken is cooked at 1 hour 30 minutes to see whether its juices are running clear. If not, it’s not cooked yet. Baste for a 5th time and then put it back in for another 10 minutes. You’ve got to make sure that chicken is cooked thoroughly!
13/ Once cooked at around 1 ½ hours, remove from the oven and place on your roasting dish.
14/ Cover with foil and rest the chicken for around 10 minutes to make the chicken meat juicier.
15/ Grab a couple of tablespoons of the chicken juices and add to a measuring jug to make the gravy (if using).
16/ Crank up the oven to 220C/200F/GM 7 and cook the remaining ingredients for around 15 minutes until they are all crisp.
17/ Serve with broccoli, green beans or any mixed vegetables (optional)
Here were my timings for cooking the roast on a school night.
15:50 – Place chicken in the oven
16:10 – Baste at 20 minutes
16:30 – Baste at 40 minutes, add the carrots and onions.
16:50 – Baste at 1 hour, add the sweet potato, salt and pepper and prepare the stuffing balls, if using
17:10 – Baste at 1 hour 20 and add the stuffing balls to the vegetables in the roasting dish. Cook for a further 10 minutes
17:20 – Check the chicken at 1 hour 30 minutes. If not cooked, baste again for the 5th time and cook for a further 10 minutes. Keep cooking and checking every 10 minutes, until the juices run clear and the chicken is cooked through.
17:30 – Remove from the oven and place on a roasting dish. Cover in tin foil and rest for ten minutes. Cook the remaining vegetables at 220C for another 15 minutes.
17:45 – Serve with other mixed vegetables and gravy, if using.
Any ideas on how to make a quick roast dinner for the family? Please leave your tips below.
10 Insanely Stuffed and Healthy Avocado Recipes You May Not Be Aware Of
Ten of the most insanely stuffed avocado recipes that you may not have had the pleasure of trying. Enjoy!
Avocado is a pear-shaped green fruit with bumpy skin. It’s an incredibly healthy fruit, loaded with nutrients including 20 different vitamins and minerals. It is high in healthy fats and thus it doesn’t contain any cholesterol or sodium. It is also rich in fibre (7% in weight) which is known to reduce blood sugar spikes, aid in weight loss and lower the risk of many diseases. People who consume avocado often tend to be healthier than those who eat it rarely. By healthier, I mean they take in a higher percentage of nutrients and are half as likely to have metabolic syndrome, a known risk factor for diabetes and heart diseases. Avocados also contain antioxidants such as lutein and Zeaxanthin, which are important for eye health. They reduce the risk of cataracts and macular degeneration.
The best thing about avocados is that they can be eaten in any way – from plain to baked – and used in all sorts of amazing recipes. Below are ten insanely stuffed and healthy avocado recipes:
1. Avocado stuffed with quinoa with tomatoes and cheese
Preheat the [easyazon_link identifier=”B01LZUEARP” locale=”UK” nw=”y” nf=”y” tag=”motherho-21″ cart=”y” cloak=”y” localize=”y” popups=”y”]oven[/easyazon_link] to 375 degrees. This recipe ensures nothing goes to waste, and everything is utilised well. You will need and two avocados, a diced tomato, two cups of cooked quinoa, a cup of feta cheese that is crumbled and salt and pepper. Slice the avocados in two halves and gently make crisscrosses in the flesh. Ensure not to cut the outer skin. Scoop the avocado pieces into a bowl, leaving the outer flesh like a bowl. Pour in the cooked quinoa and tomatoes into the pieces and mix evenly. Don’t mix vigorously unless you want it creamier. Fill the avocado shells with the mixture and add the cheese on top. Cook in the oven for ten to twelve minutes until all the cheese has melted. Add some salt and pepper to taste, and then serve immediately.
2. Avocado stuffed with tomato salad
This meal is easy to make and tastes amazing. Simple combine together two chopped tomatoes, 2/3 cup of crumbled feta cheese, two teaspoons of olive oil and parsley, a teaspoon each of red wine vinegar and oregano, 1/3 cup of chopped red onions and salt and pepper to taste. Then spoon the mixture into halved avocados that are pitted and peeled. Serve instantly.
3. Avocado with Bacon
The tantalising taste will simply make you crave more. Into one-half of the avocado, sprinkle some chopped bacon, balsamic vinegar and sea salt. It’s easy to make and calls for an excellent snack instead of junk food.
4. Avocado stuffed with boiled egg
Place two halves of an avocado into a baking pan. You may scoop some of the flesh out to create some more space. Crack an egg into each pit (allowing the white part to spill out). Add your favourite seasoning and salt to taste. Bake until the top is golden. Quite a treat for breakfast.
5. BLT stuffed avocados
Preheat the oven to 400 degrees. Combine sliced tomatoes, spinach leaves, cooked crumbled bacon, mayonnaise, cubed French bread, and some salt to taste. Cut an avocado into halves. Rub the outside of the halves with some fresh lemon juice. Place onto a non-stick baking sheet and stuff them with as much mixture as they can hold. Place in the oven and let cook until the filling has turned light golden brown.
6. Quinoa stuffed avocado
This healthy snack consists of avocado stuffed with quinoa salad. To make the salad, use quinoa, tomatoes, sweet potatoes, red onion and corn. Then stuff the pits of the avocado with the salad. Place in the oven to bake. It makes a great meal for vegetarians.
7. Strawberry salsa stuffed avocado
This cooling taste of strawberry salsa is a great addition for summer time or hot weekends. To make the strawberry salsa, combine strawberries, green onions, lime juice, jalapenos and mint. Stuff half an avocado with the mixture.
8. Avocado salsa
Add some breadcrumbs, lemon juice, garlic, basil and Parmesan cheese to your salsa. Stuff the halves of avocado with this mixture. Then, sprinkle some salt and pepper to taste. Bake in the [easyazon_link identifier=”B01553F52E” locale=”UK” nw=”y” nf=”y” tag=”motherho-21″ cart=”y” cloak=”y” localize=”y” popups=”y”]oven[/easyazon_link] until cooked.
9. Smoky lentils stuffed avocado
Lentils are a great source of protein. When combining with the avocado nutrients, you will just be bursting with health. Mix lentils with some homemade tomato sauce. Stuff avocado halves with the mixture and bake for about eighteen minutes.
10. Grilled avocado with herbs
All you require is an avocado, some herbs, cherry tomatoes, lemon juice, pine nuts and salt and pepper to taste. Mix all other ingredients except the avocado. Then stuff the avocado with the mixture. The avocado should be grilled.
Conclusion
Ways of using avocados in snacks are just limitless. Try the above recipes and if you come up with your own, please comment in the box below with your recipe suggestions.
I hope you enjoy the health benefits of eating [easyazon_link identifier=”B003O3JUJ2″ locale=”UK” nw=”y” nf=”y” tag=”motherho-21″ cart=”y” cloak=”y” localize=”y” popups=”y”]avocados[/easyazon_link]!
Did you like this post? Check out more recipes here!
Bernard Matthews Lunchbox Challenge – 3 awesome recipes by kids for kids
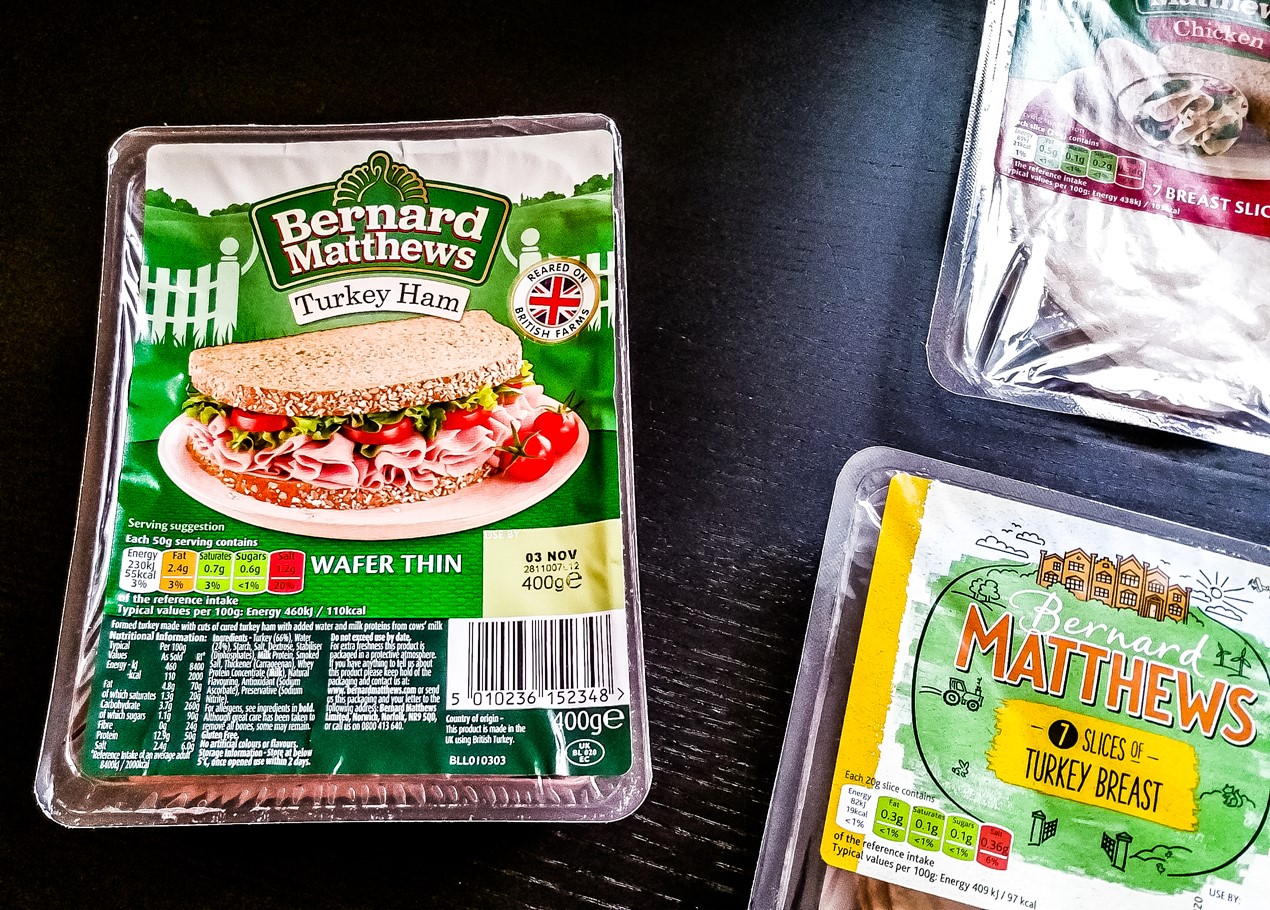
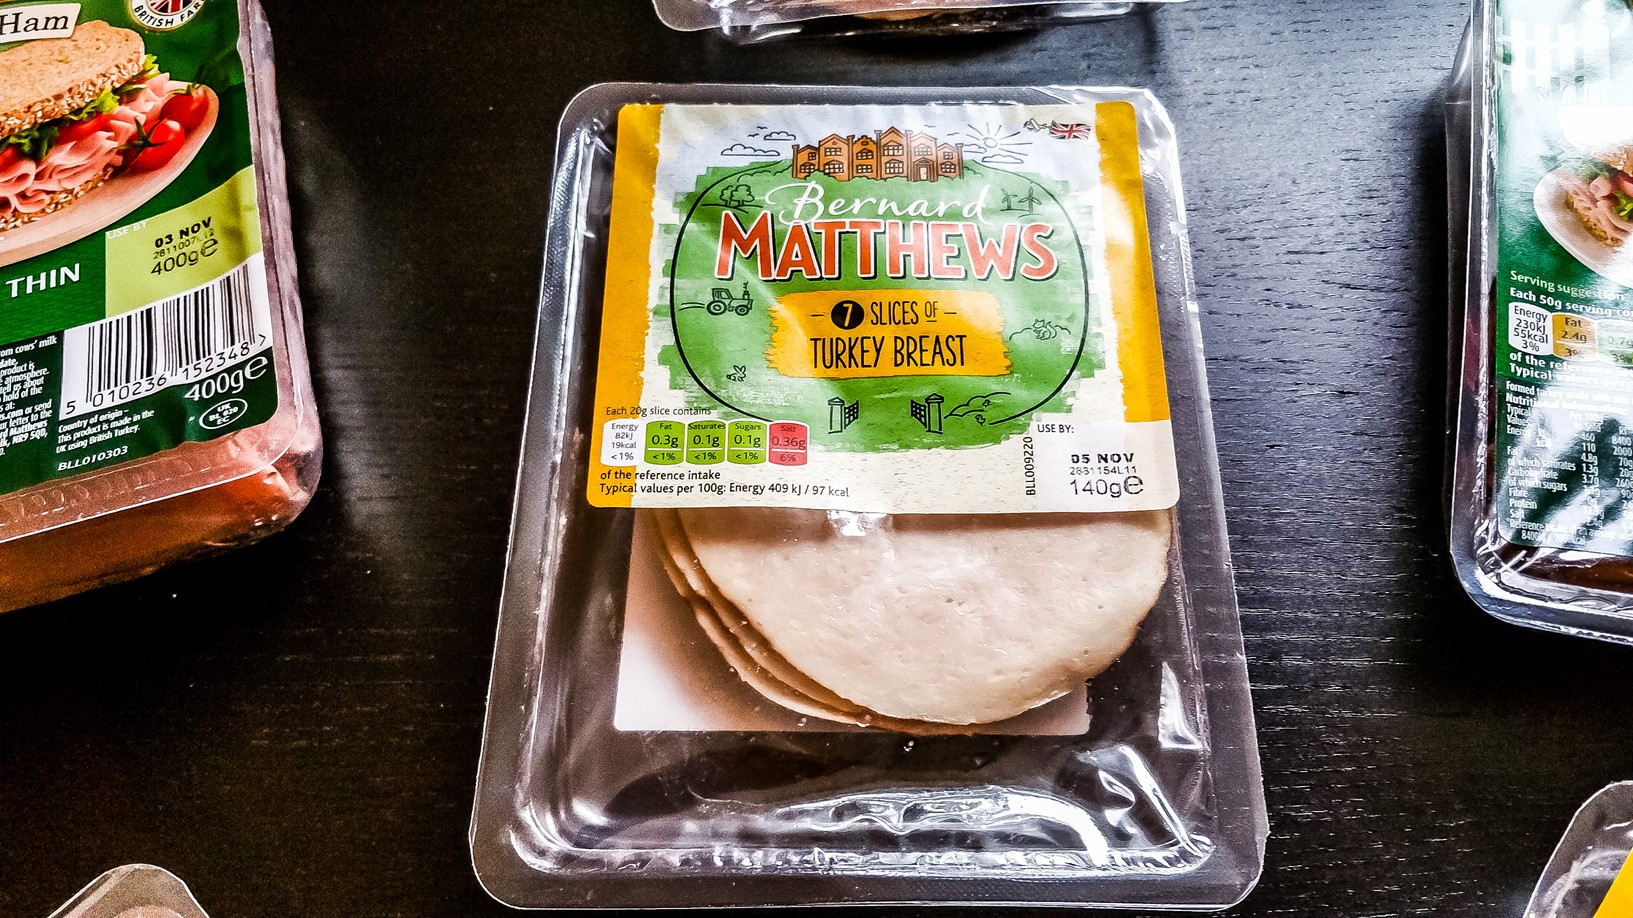
We mums think we know what our children want and need to put in their lunchboxes. But, what if we left them to their own accord and they came up with some recipes using the ingredients that’s placed in front of them? Well, that’s what Motherhood Diaries did, with thanks to Bernard Matthews for offering their cooked meats range for our awesome recipes. Bernard Matthews’ 100% British turkey products are designed to help busy mums save time, money and effort in the kitchen without compromising on taste and they’re super versatile, so you can add them to almost any savoury dish. They’ve also come up with more appealing brand packages, which the kids enjoyed studying. So, with that said, the boys and I came up with three recipes that would fit perfectly in their lunchboxes – or any time of the day!
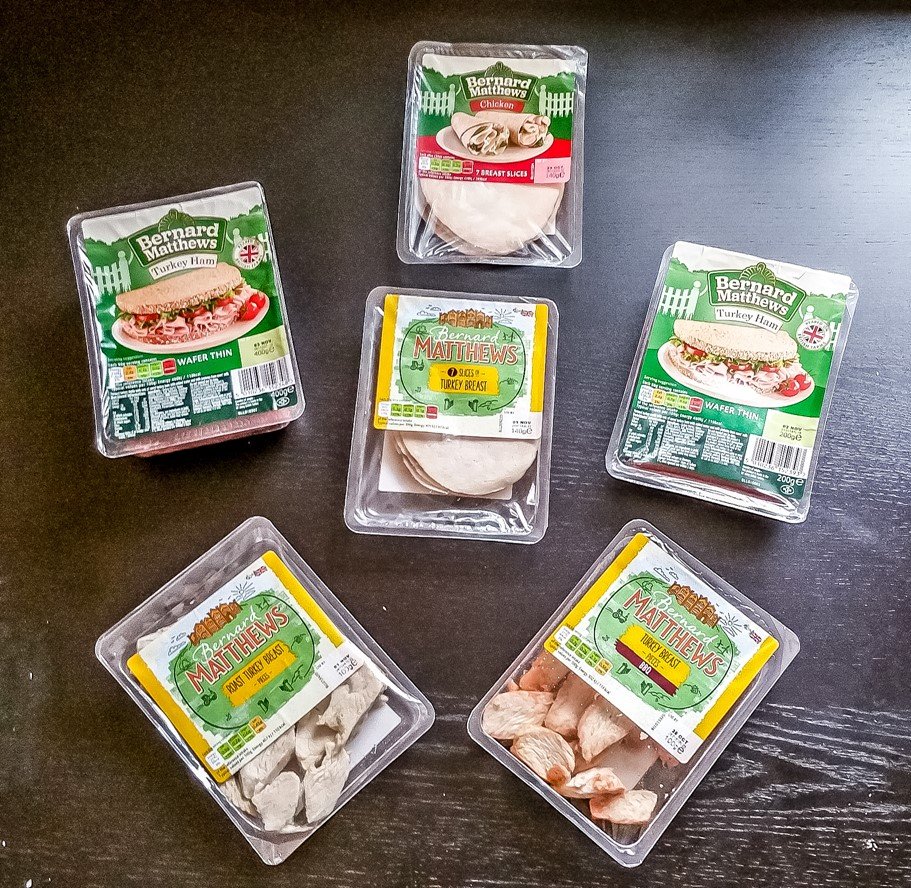
Centre: Bernard Matthews Turkey Breast Slices – 100g – RRP £1 or 140g – RRP £2
Top Centre: Bernard Matthews Chicken Breast Slices – 100g – RRP £1 or 140g – RRP £2
Centre Right: Bernard Matthews Turkey Ham – 120g – RRP £1 or 200g (Iceland only) – RRP £2
Bottom Right: Bernard Matthews BBQ Turkey Breast – 100g – RRP £1 or 140g (Asda only) – RRP £2
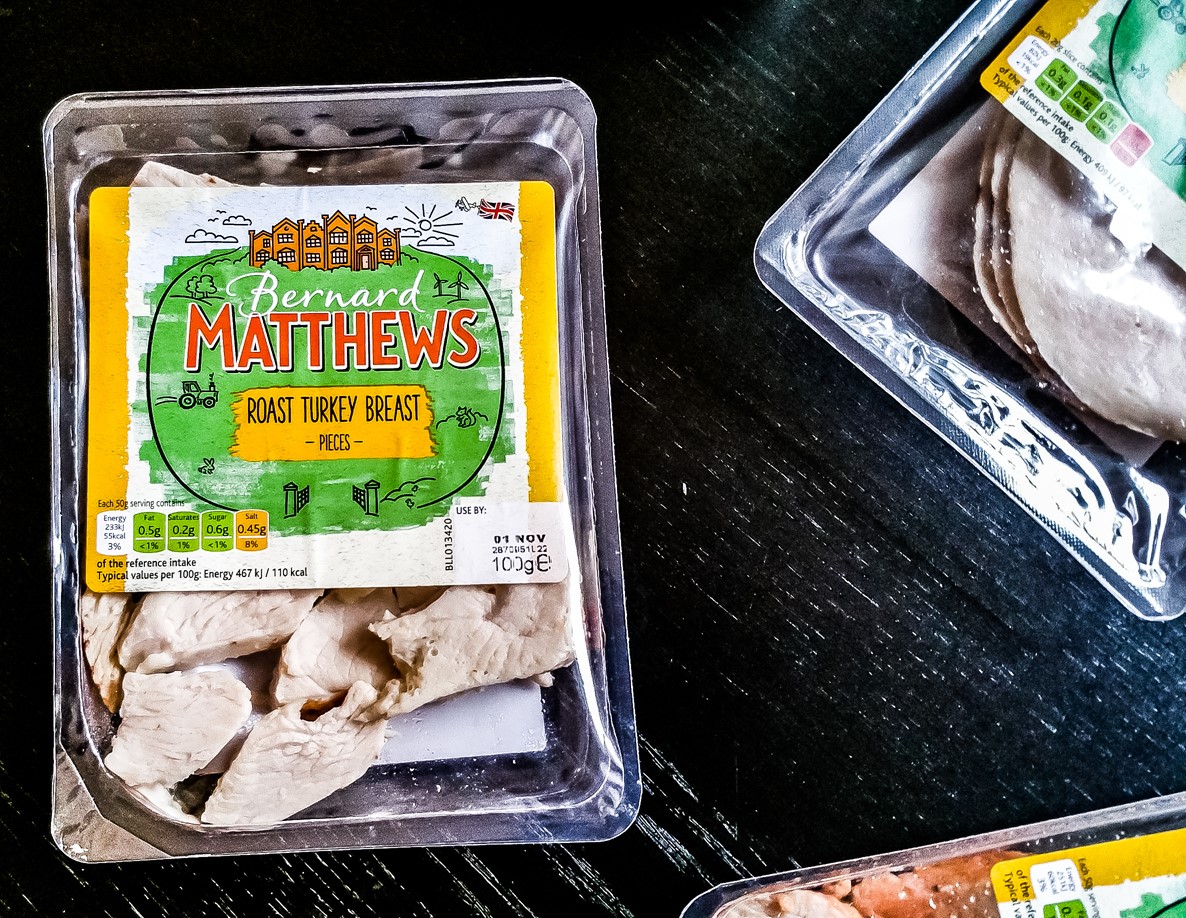
Bottom Left: Bernard Matthews Roast Turkey Breast Pieces – 100g – RRP £1 or 140g – RRP £2
Centre Left: Bernard Matthews Turkey Ham
Sweet Pasta Salad
(Inspired by Annabel Karmel)
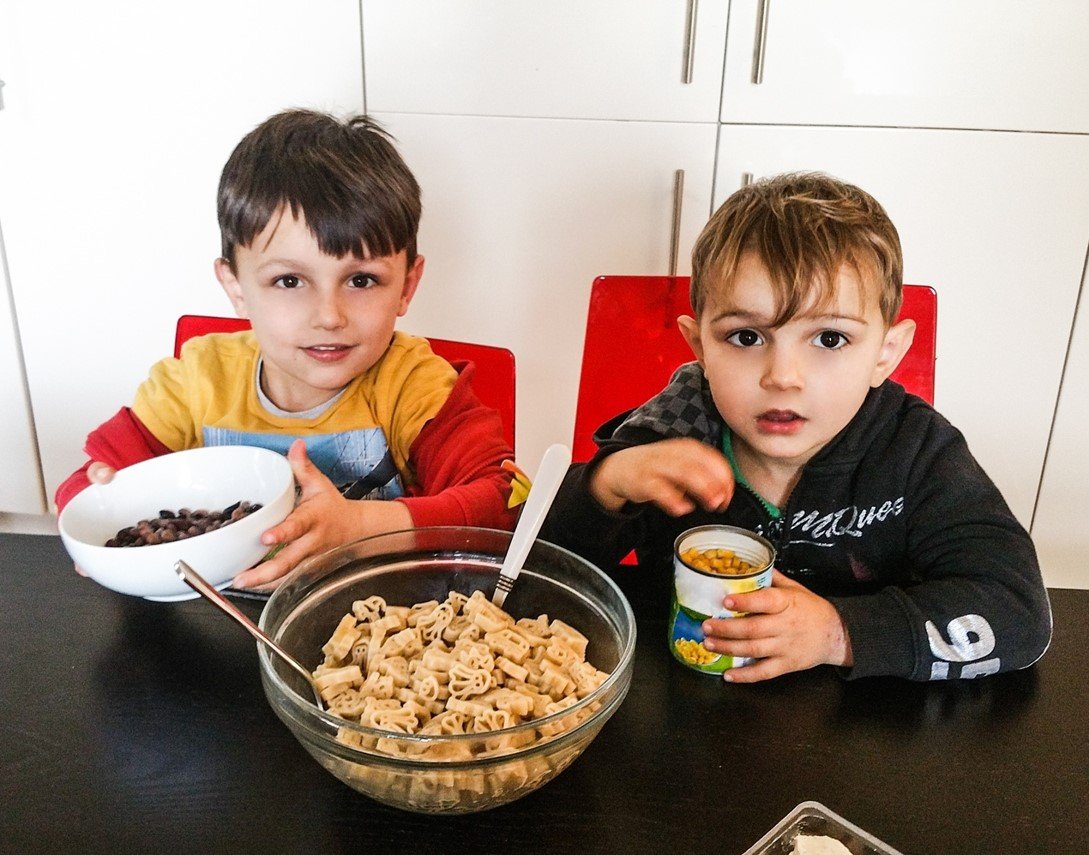
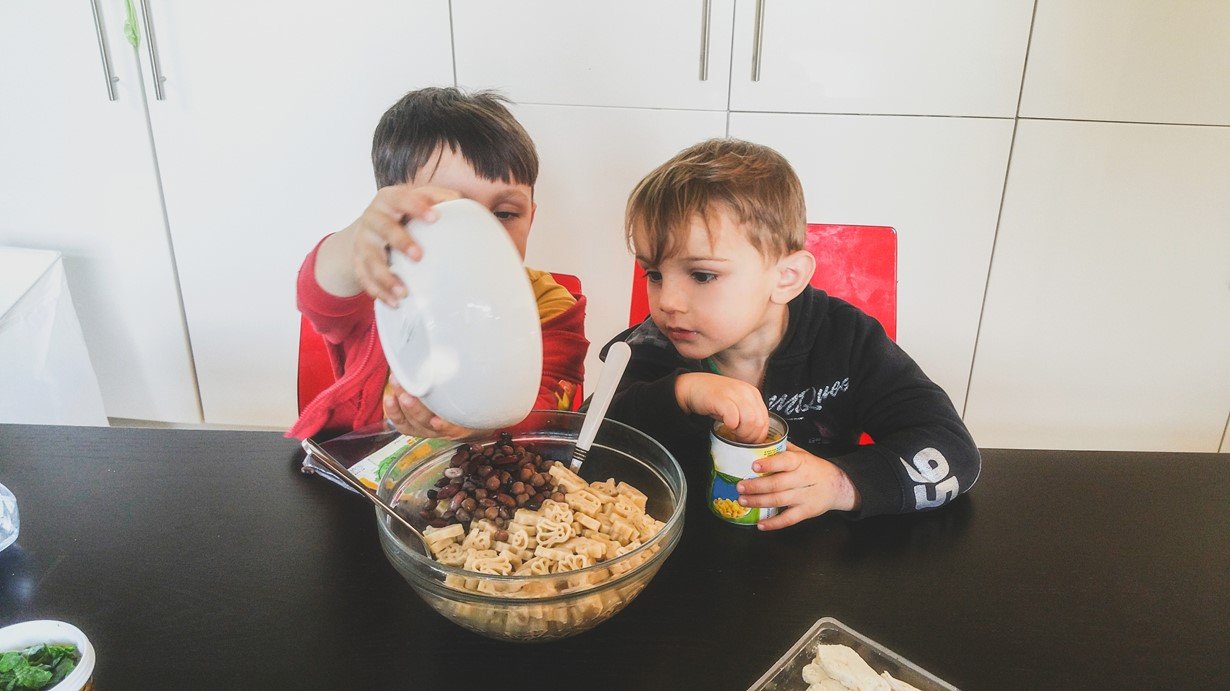
The boys had a lot of fun making the video of them preparing the Bernard Matthews Sweet Pasta Salad Recipe. The written recipe is below, but you can the find the recipe video on YouTube here:
https://youtu.be/NSQ_z8-8-lo
Ingredients
100g pasta
One packet Bernard Matthews Roast Turkey Breast
100g mixed beans
100g canned sweetcorn
10 cherry tomatoes cut in half
2 spring onions, thinly sliced
Handful spinach, chopped finely
For the dressing
3 tbsp olive oil
1 tbsp runny honey
1 tbsp. soy sauce
1 ½ tbsp. freshly squeezed lemon
Method
Cook the pasta according to packet instructions
Cook the mixed beans according to packet instructions
Combine all dressing ingredients together and mix well
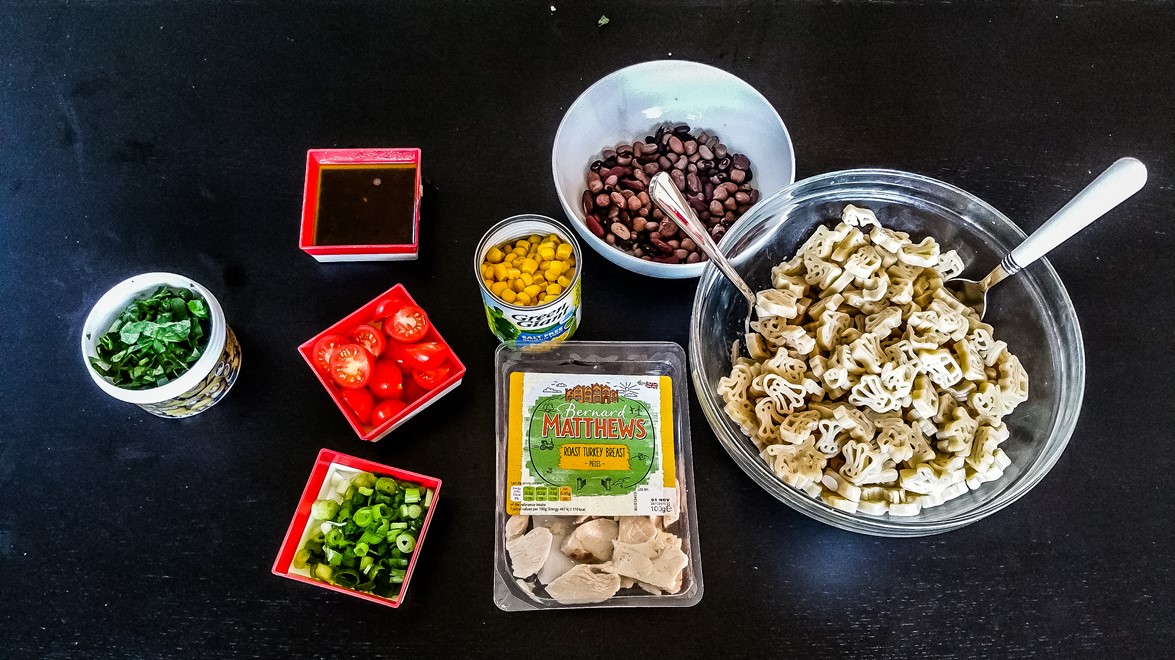
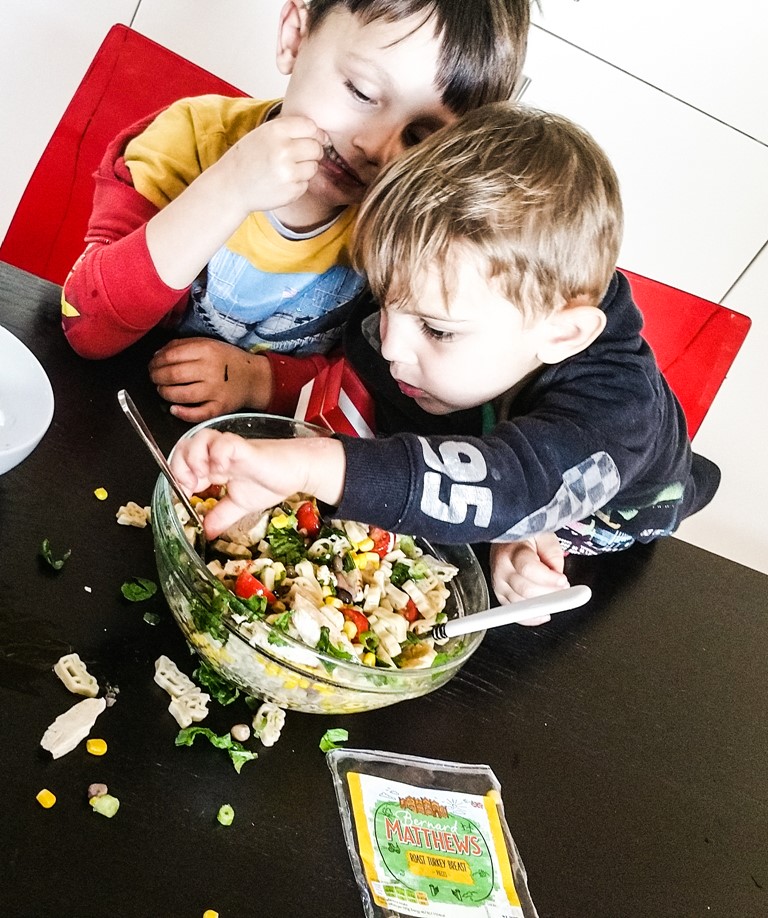
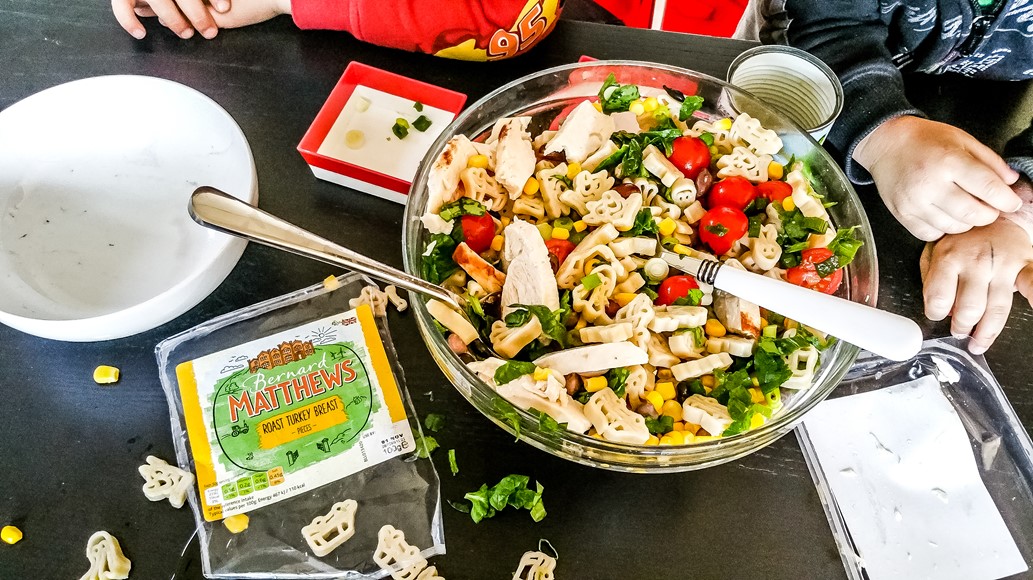
Prepare all ingredients as in the image above and hand over the reins to the kids!
Grab a large bowl for the cooked pasta and add the beans
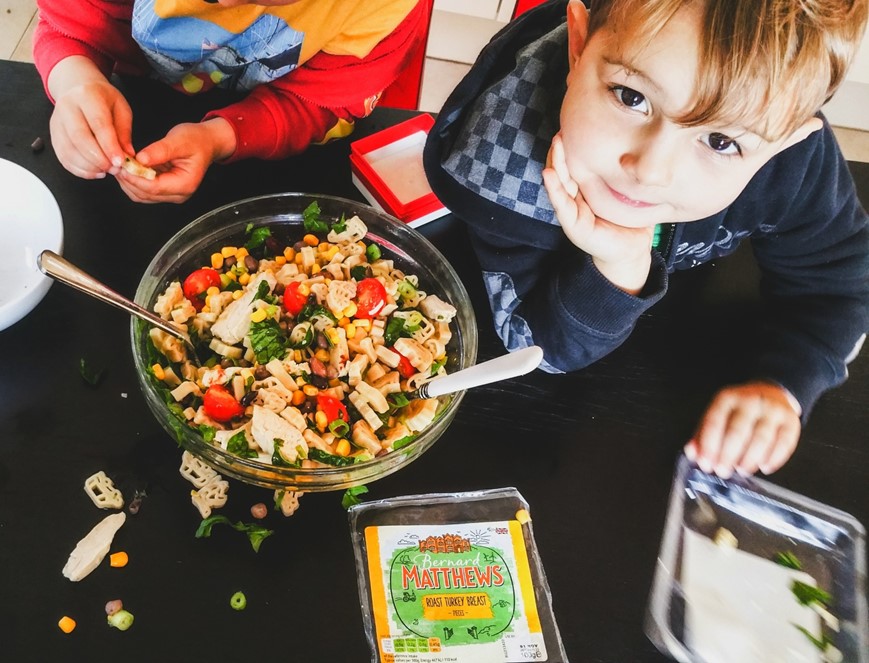
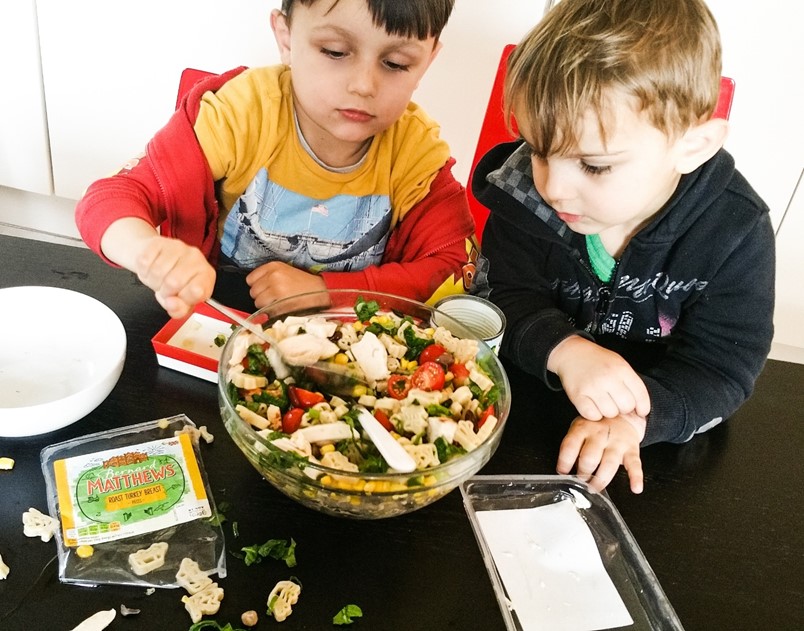
Add all the other ingredients and mix well, including the Bernard Matthews Roast Turkey Breast
Add the combined dressing and mix well
Taste test!
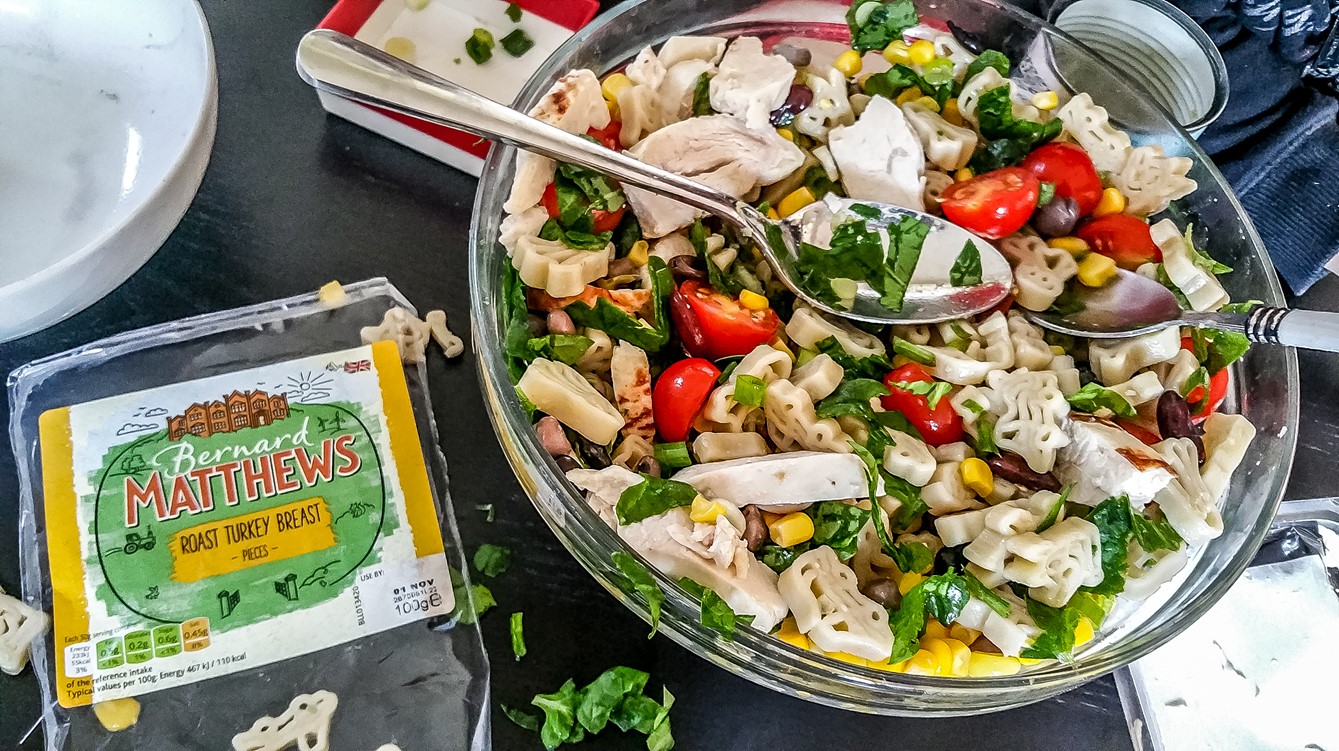
There you have it! The sweet pasta salad with Bernard Matthews Roast Turkey Breast tasted absolutely delicious and the boys enjoyed second helpings at lunch!
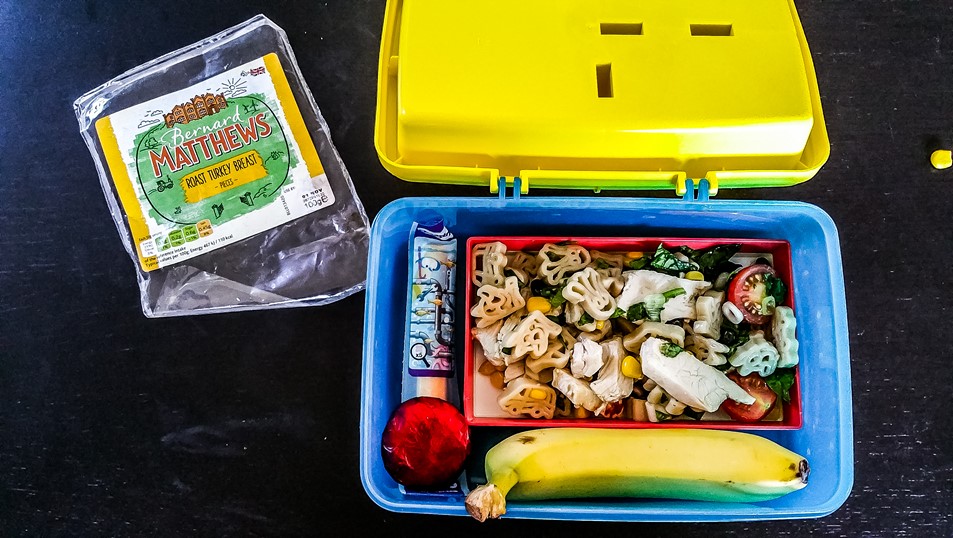
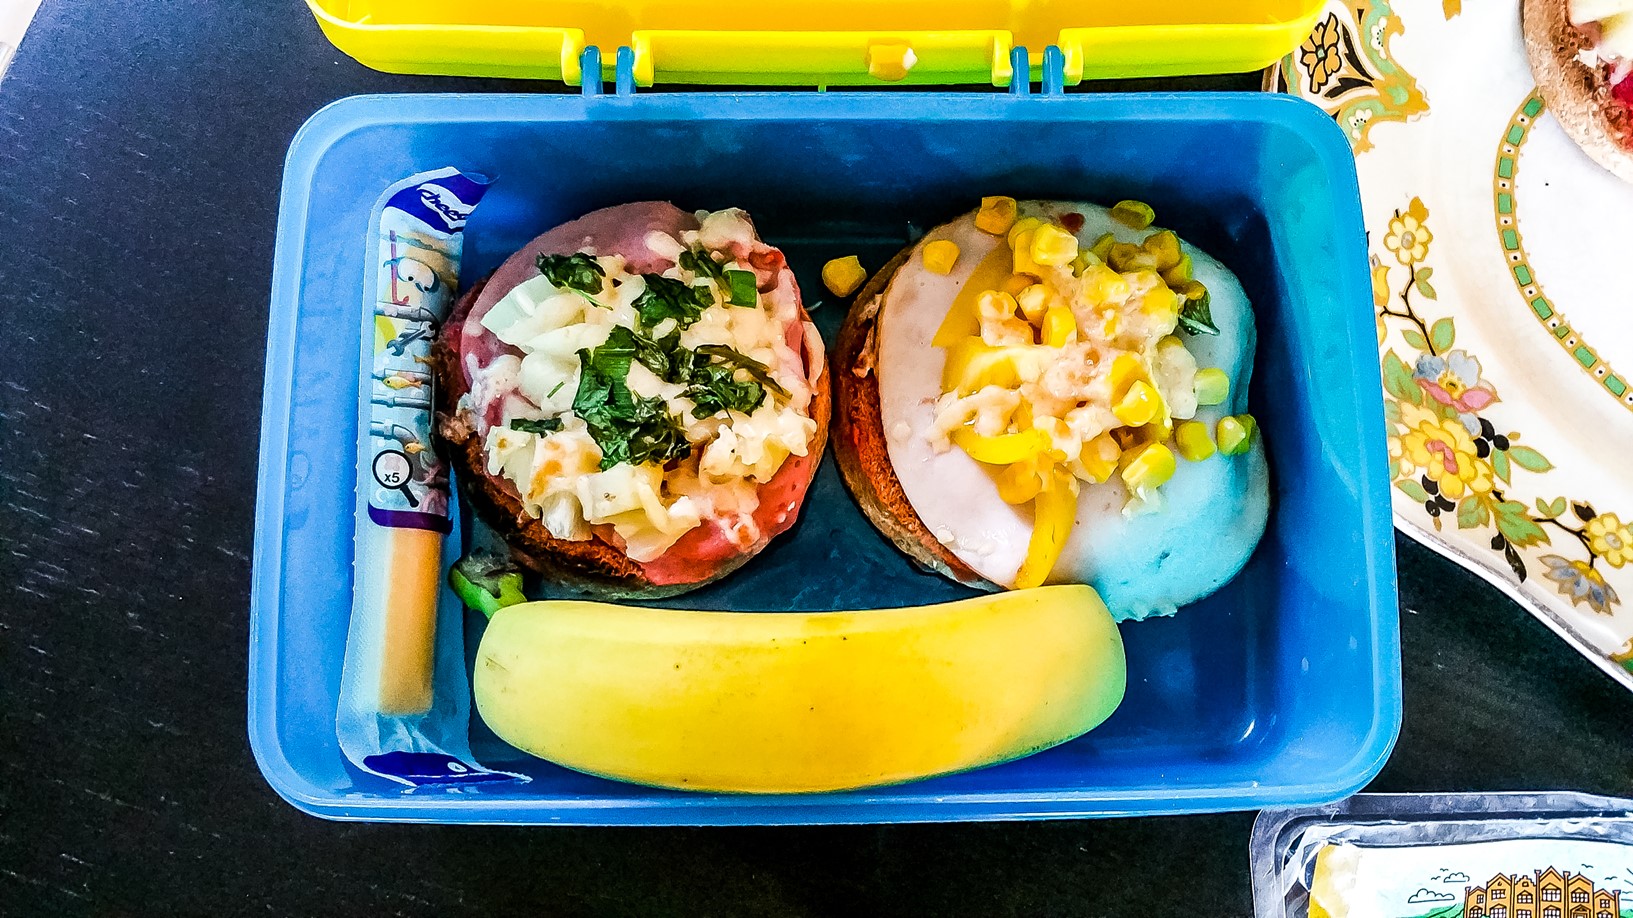
And the pasta salad fits perfectly in their lunchboxes
Pizza Muffins
The written recipe is below, but please find the recipe video of the boys making pizza muffins on YouTube here:
https://youtu.be/B2wUoZVOQNo
Ingredients
Bernard Matthews Turkey Ham
Bernard Matthews Turkey Breast
2 pizza muffins, toasted and halved
Handful of basil
Can of sweetcorn
1 yellow bell pepper
2 slices of tinned pineapple
1 can of chopped tomatoes
Little bit of salt and pepper to taste
Block of cheese
Method
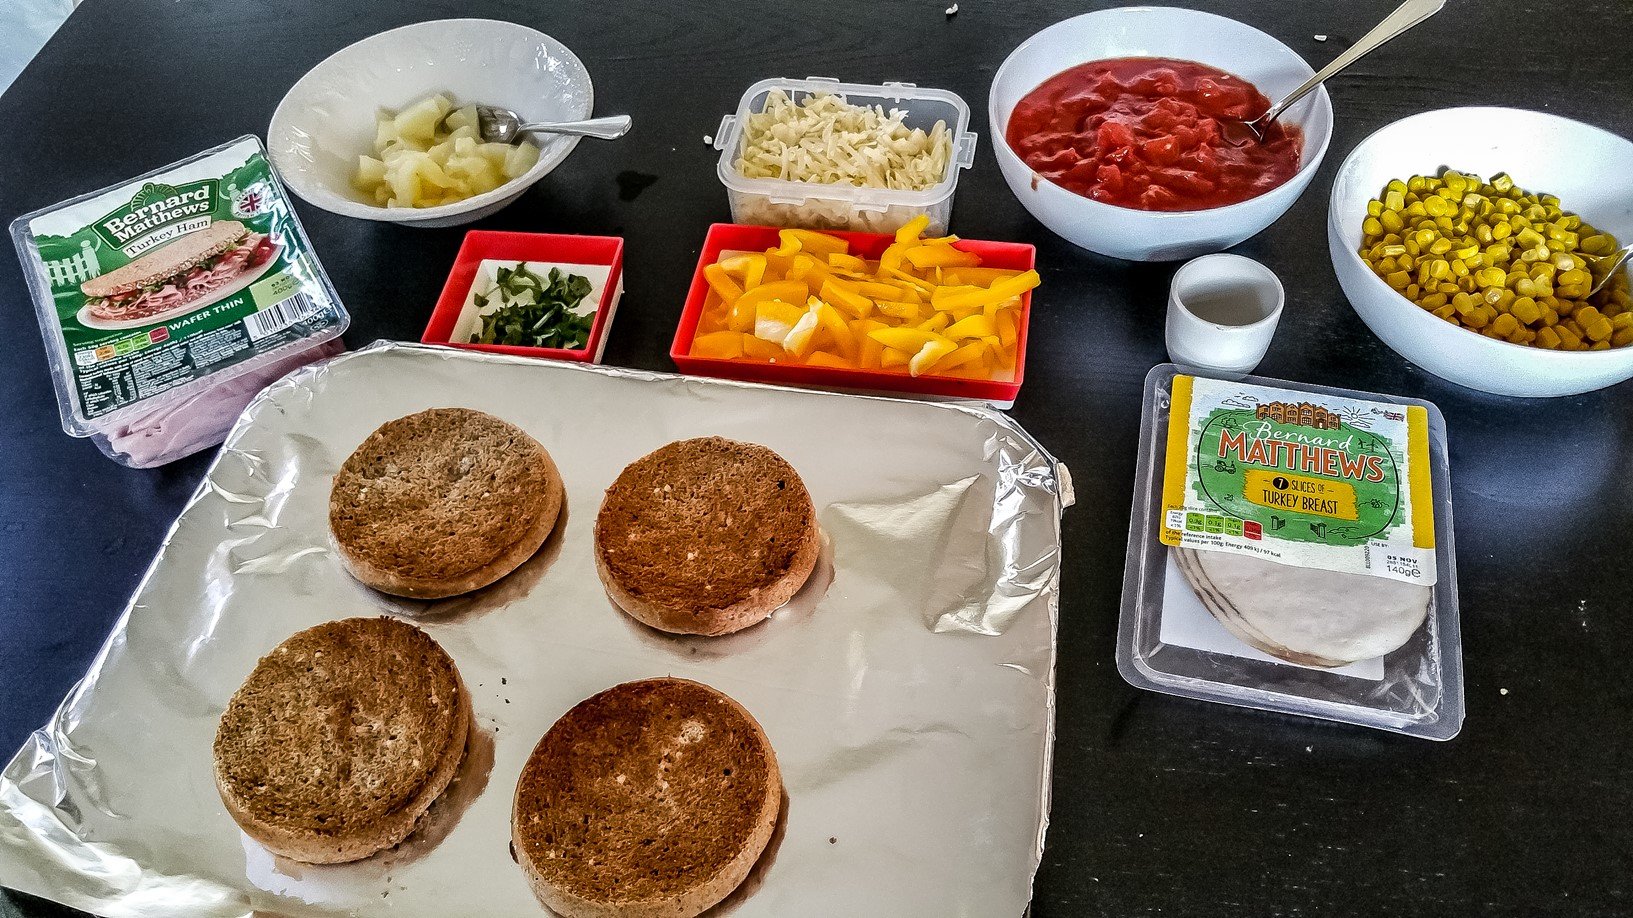
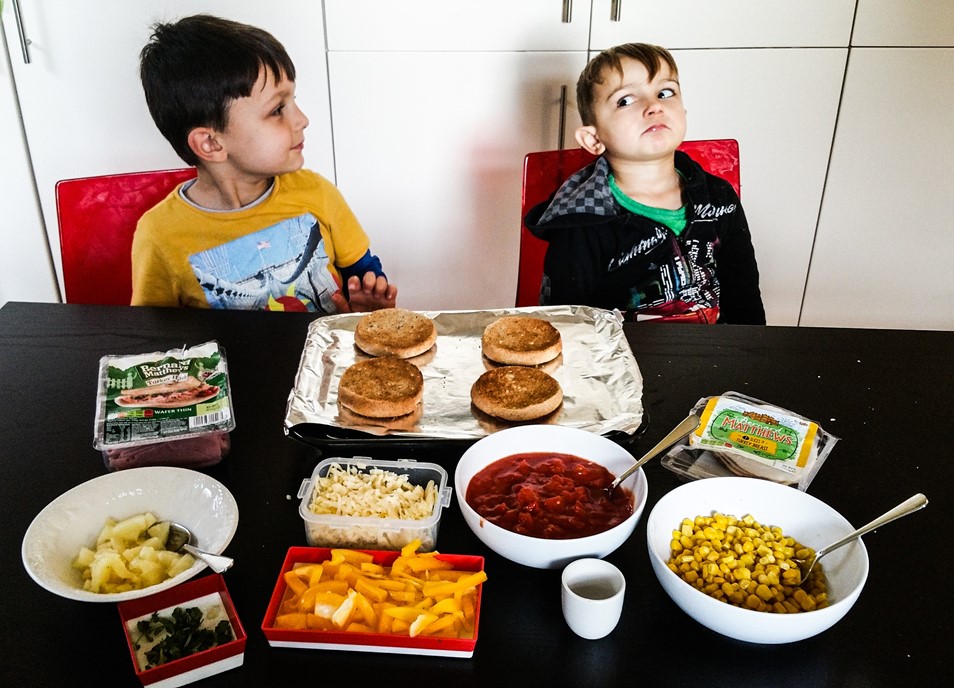
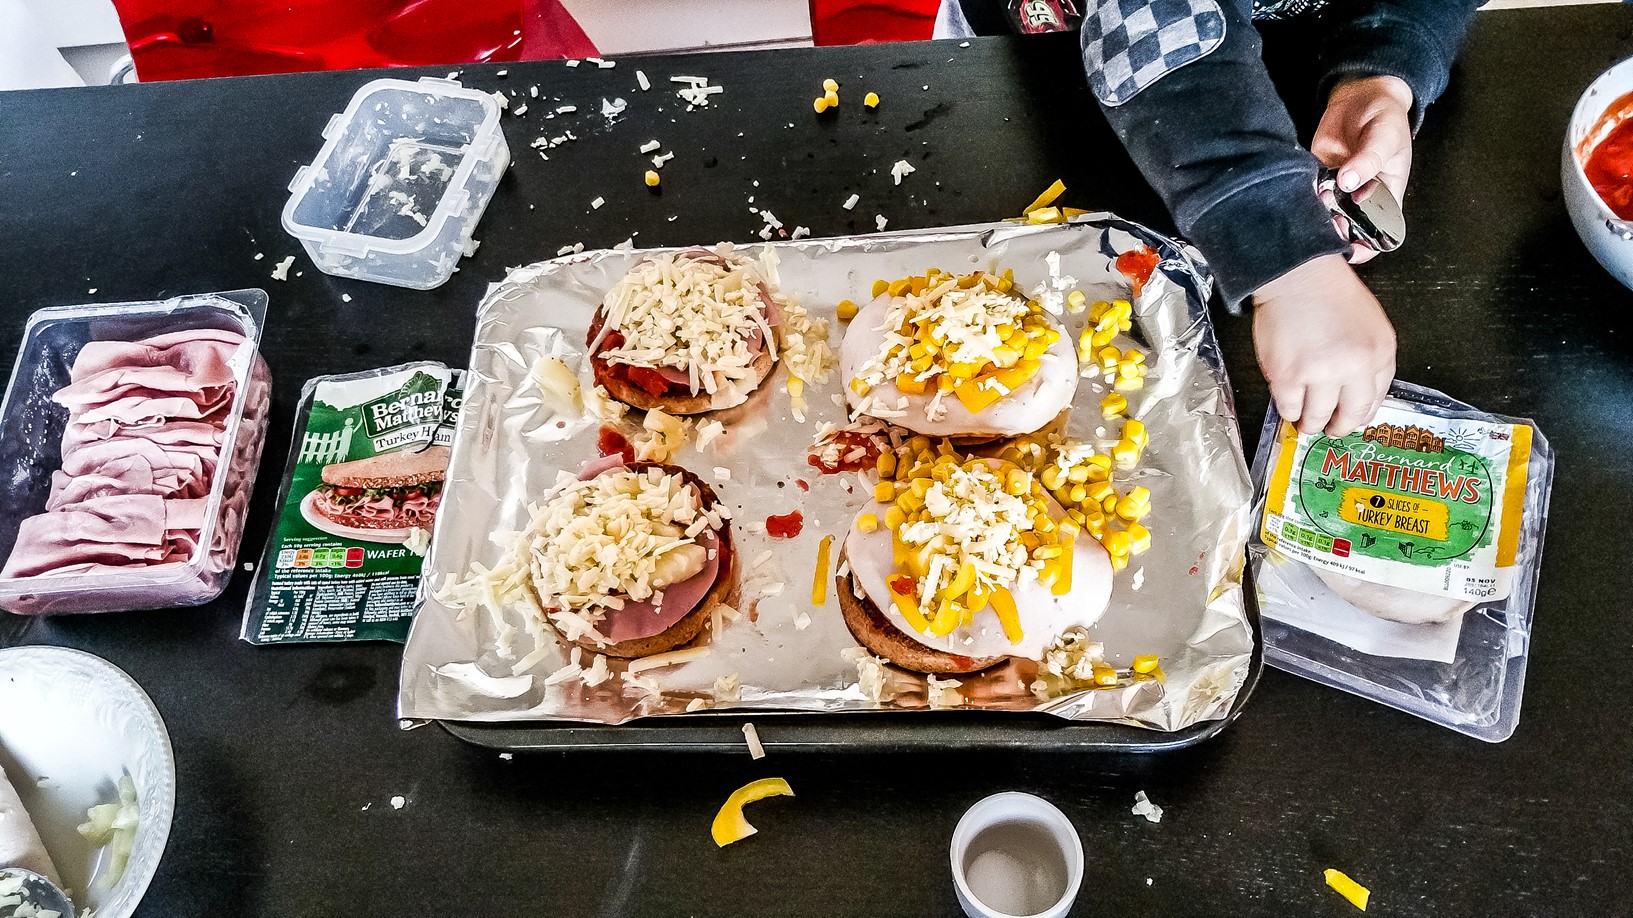
Prepare all ingredients and hand over to the kids to make their pizza muffins!
On two of the pizza muffins, you will be making ham and pineapple and the other two will contain the rest of the ingredients.
In the end, the boys started mixing all the ingredients up
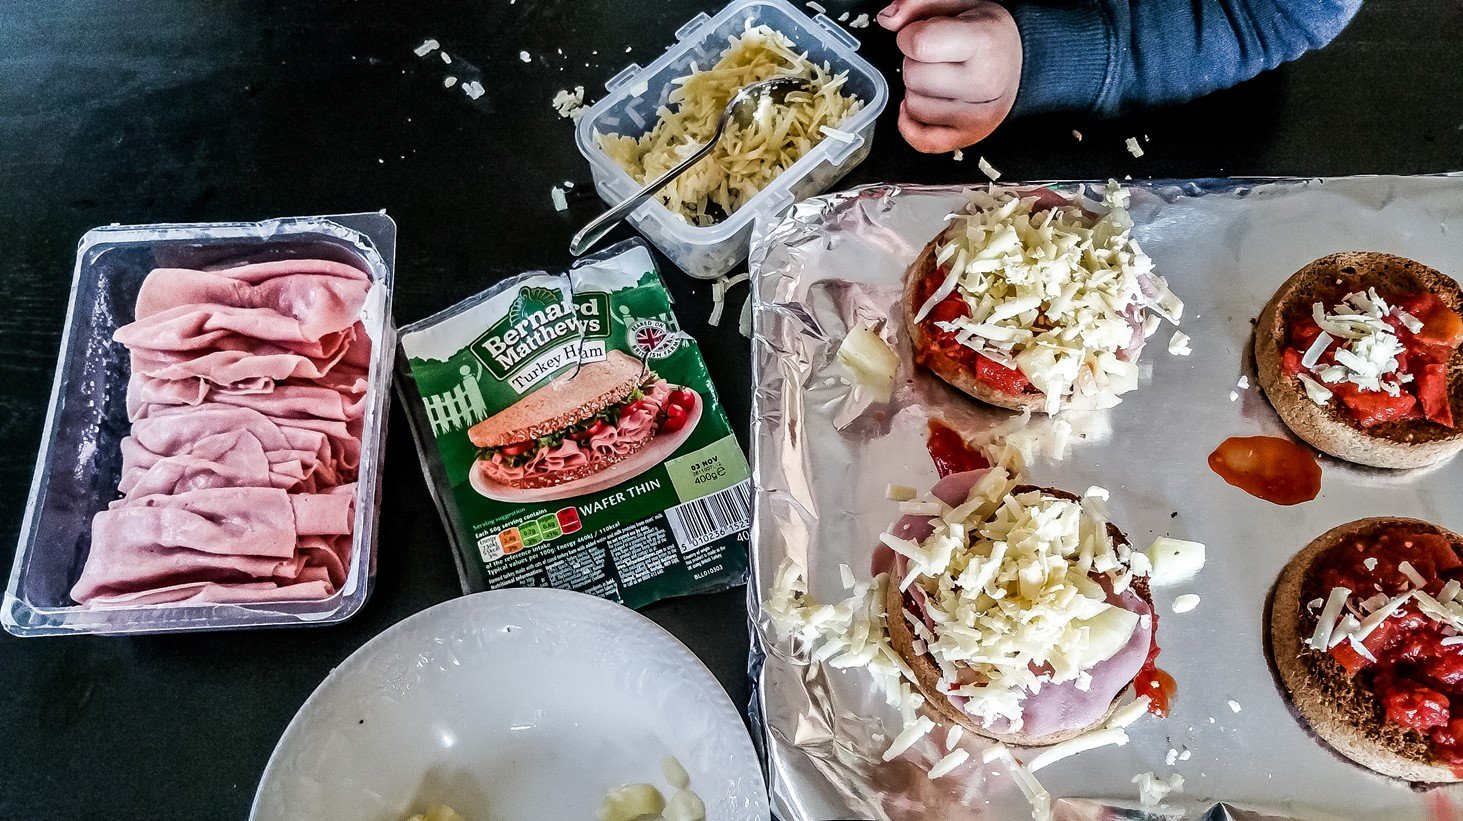
Layer each pizza muffin with the tomato sauce
Add the chopped pineapple slices and Bernard Matthews Turkey Ham to two of the pizza muffins
Add Bernard Matthews Turkey Breast to the other two pizzas and top with sweetcorn, pepper and cheese
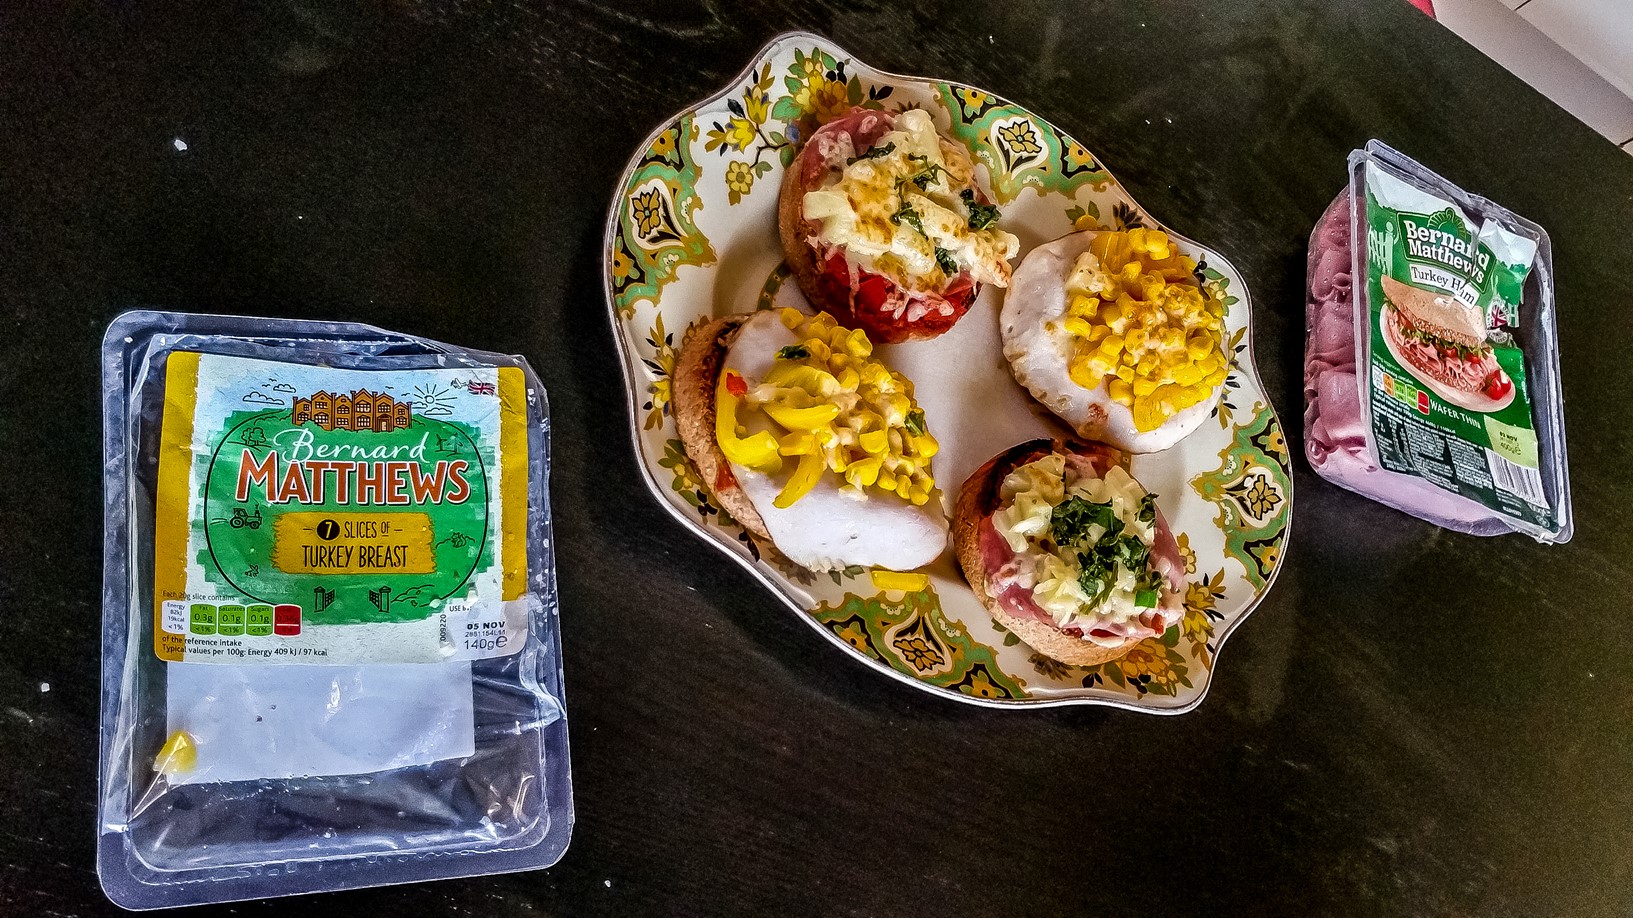
Pop into the oven to grill until the cheese is melted.
Add the basil 1 minute before
These pizza muffins looked amazing! The boys’ favourite were the ham and pineapple pizza muffins because of the sweet taste of pineapple. The Bernard Matthews Turkey ham and breast perfectly complemented the other ingredients and we all ended up enjoying these pizza muffins as a family – and we made 4 more that very afternoon!
Sweet Tortilla Wraps
Written recipe is below, but please find the video to the boys making the Sweet Sandwich Wraps here:
https://youtu.be/1Z-JBm2ACEM
Ingredients:
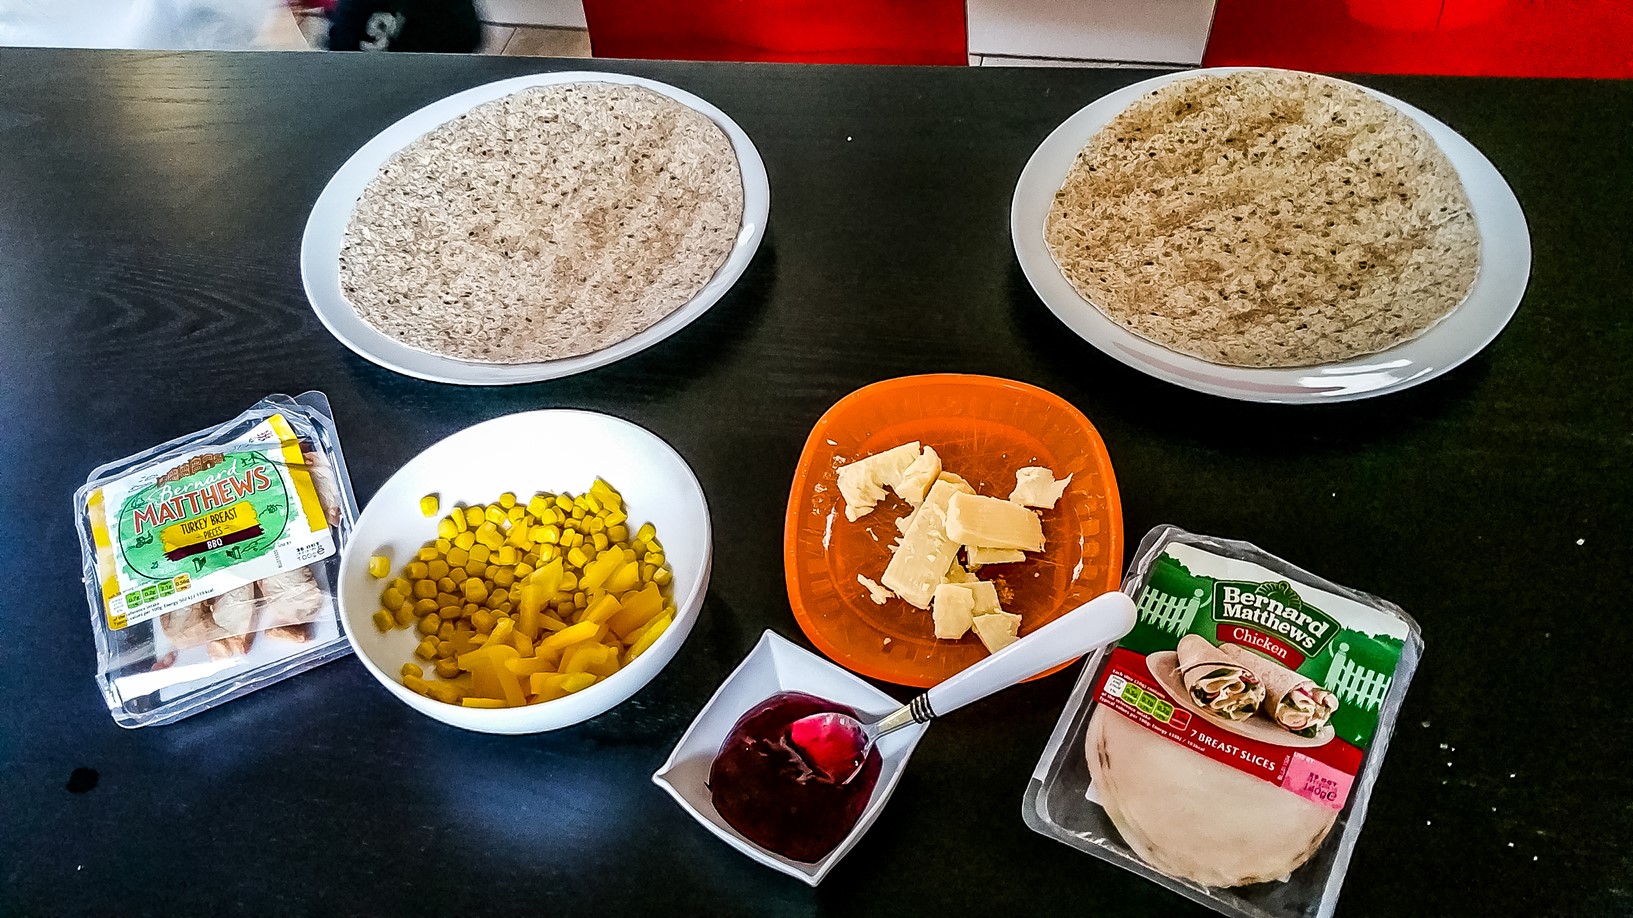
Pack of tortilla wraps
Packet of Bernard Matthews Turkey Breast Pieces
Packet of Bernard Matthews Chicken Breast Slices
Can of sweetcorn
Half a yellow bell pepper, thinly sliced
Block of cheddar cheese
3 tbsp. of cranberry sauce
Method
Prepare all ingredients and hand over to the kids to start wrapping!
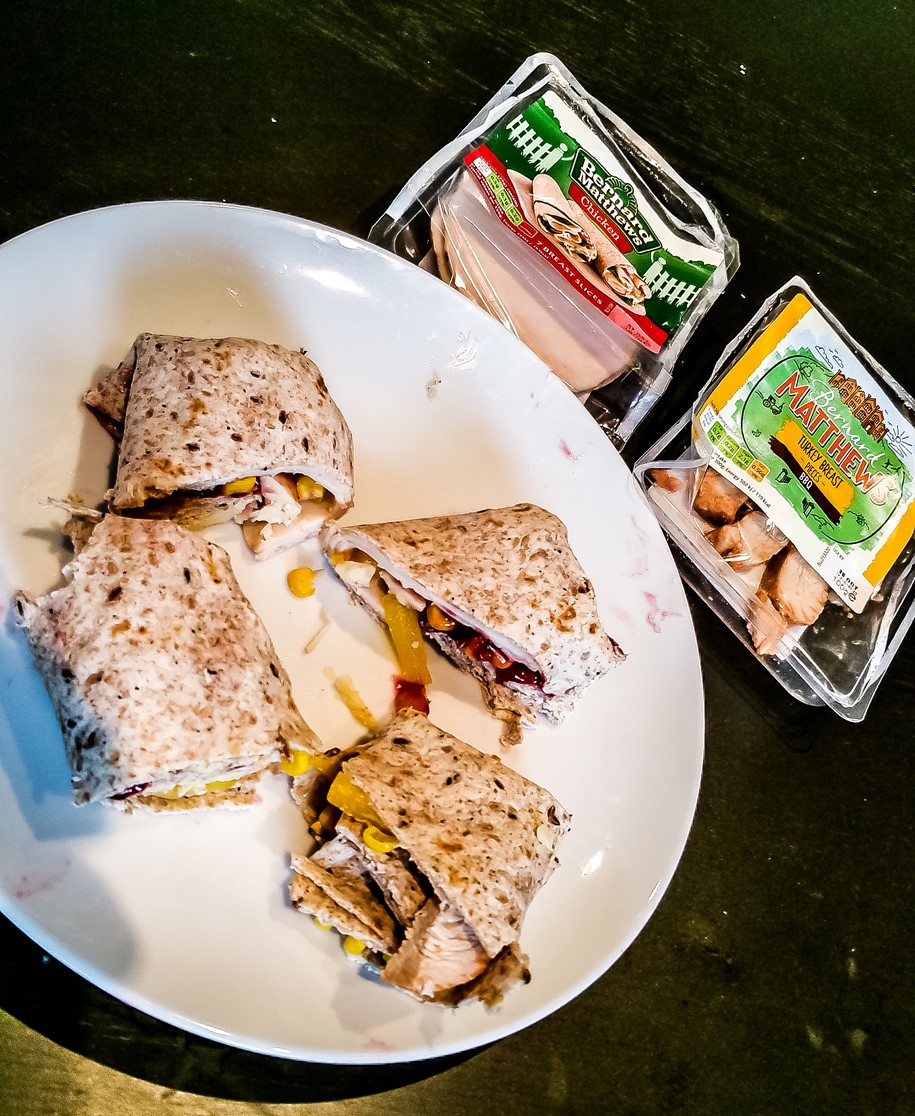
Lay the tortilla wrap on the plate and add all ingredients to your heart’s content
Finish with the cranberry sauce and wrap away!
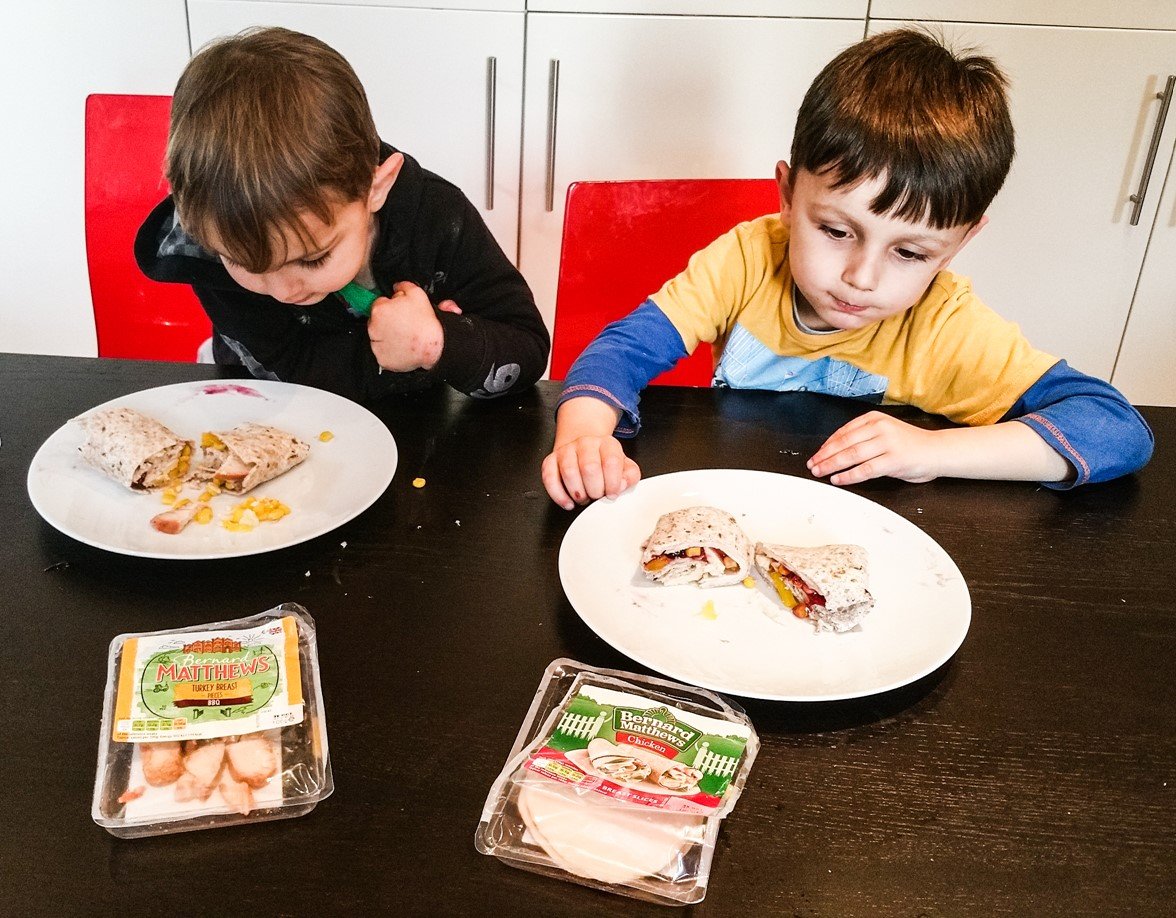
Well done to the boys for making three delicious recipes using Bernard Matthew’s cooked meats range. What did your children come up with?